The Beacon is the sixth mission of Titanfall 2's single-player campaign. The mission is predominantly set around an IMC Interstellar Beacon enabling communication across interstellar space, and its supporting facilities. Jack Cooper and BT-7274, with help from local Militia forces, must commandeer the beacon to contact Militia command in orbit above Typhon. To do so, they have to power up the beacon and explore the superstructure and the nearby construction yard to repair it, all while dealing with IMC forces and their Apex Predator commander, Richter.
Characters[]
Frontier Militia[]
- Rifleman Jack Cooper
- BT-7274
- Commander Sarah Briggs
- Captain Cole
- Sergeant McCord
- Rifleman Class-3 Grenier
- Barry
IMC[]
ARES Division
- General Elias Marder
- Delta-Five-One-X-Ray
Apex Predators
Plot[]
Linking Up[]

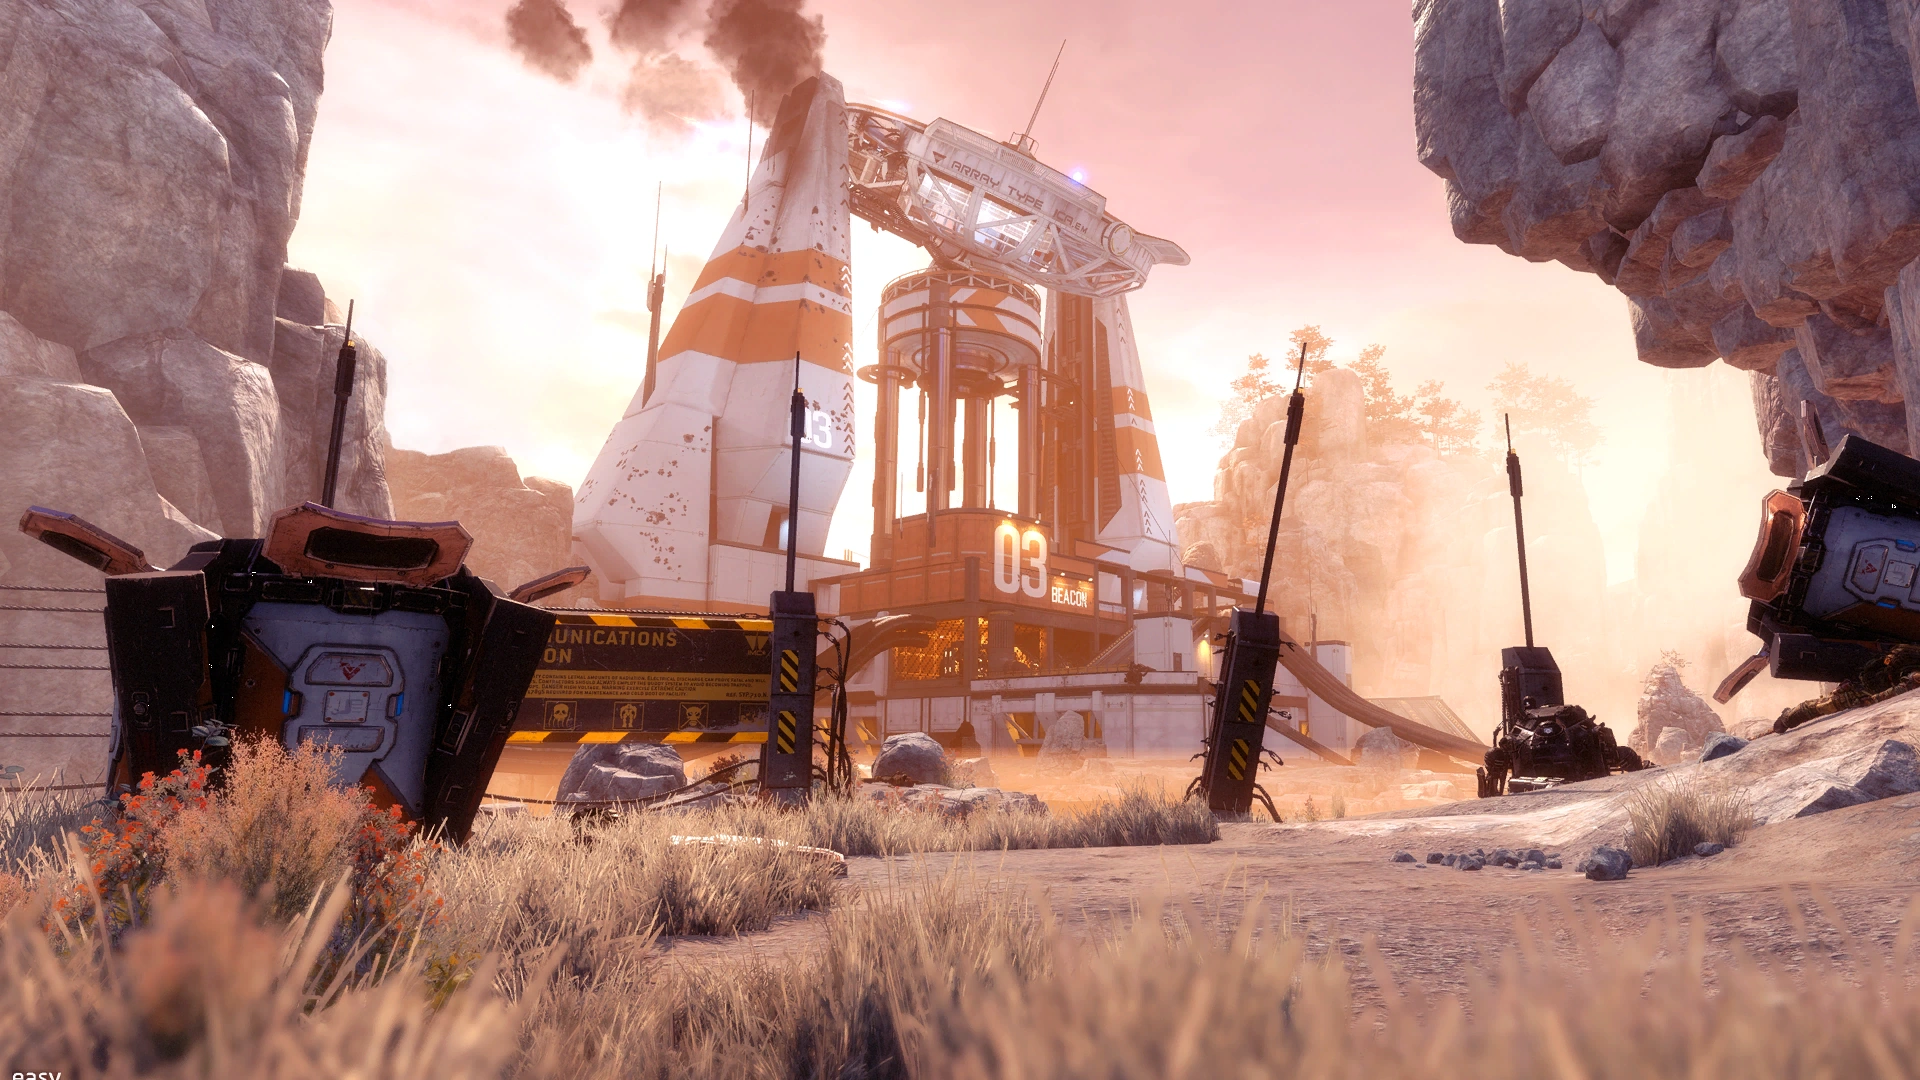
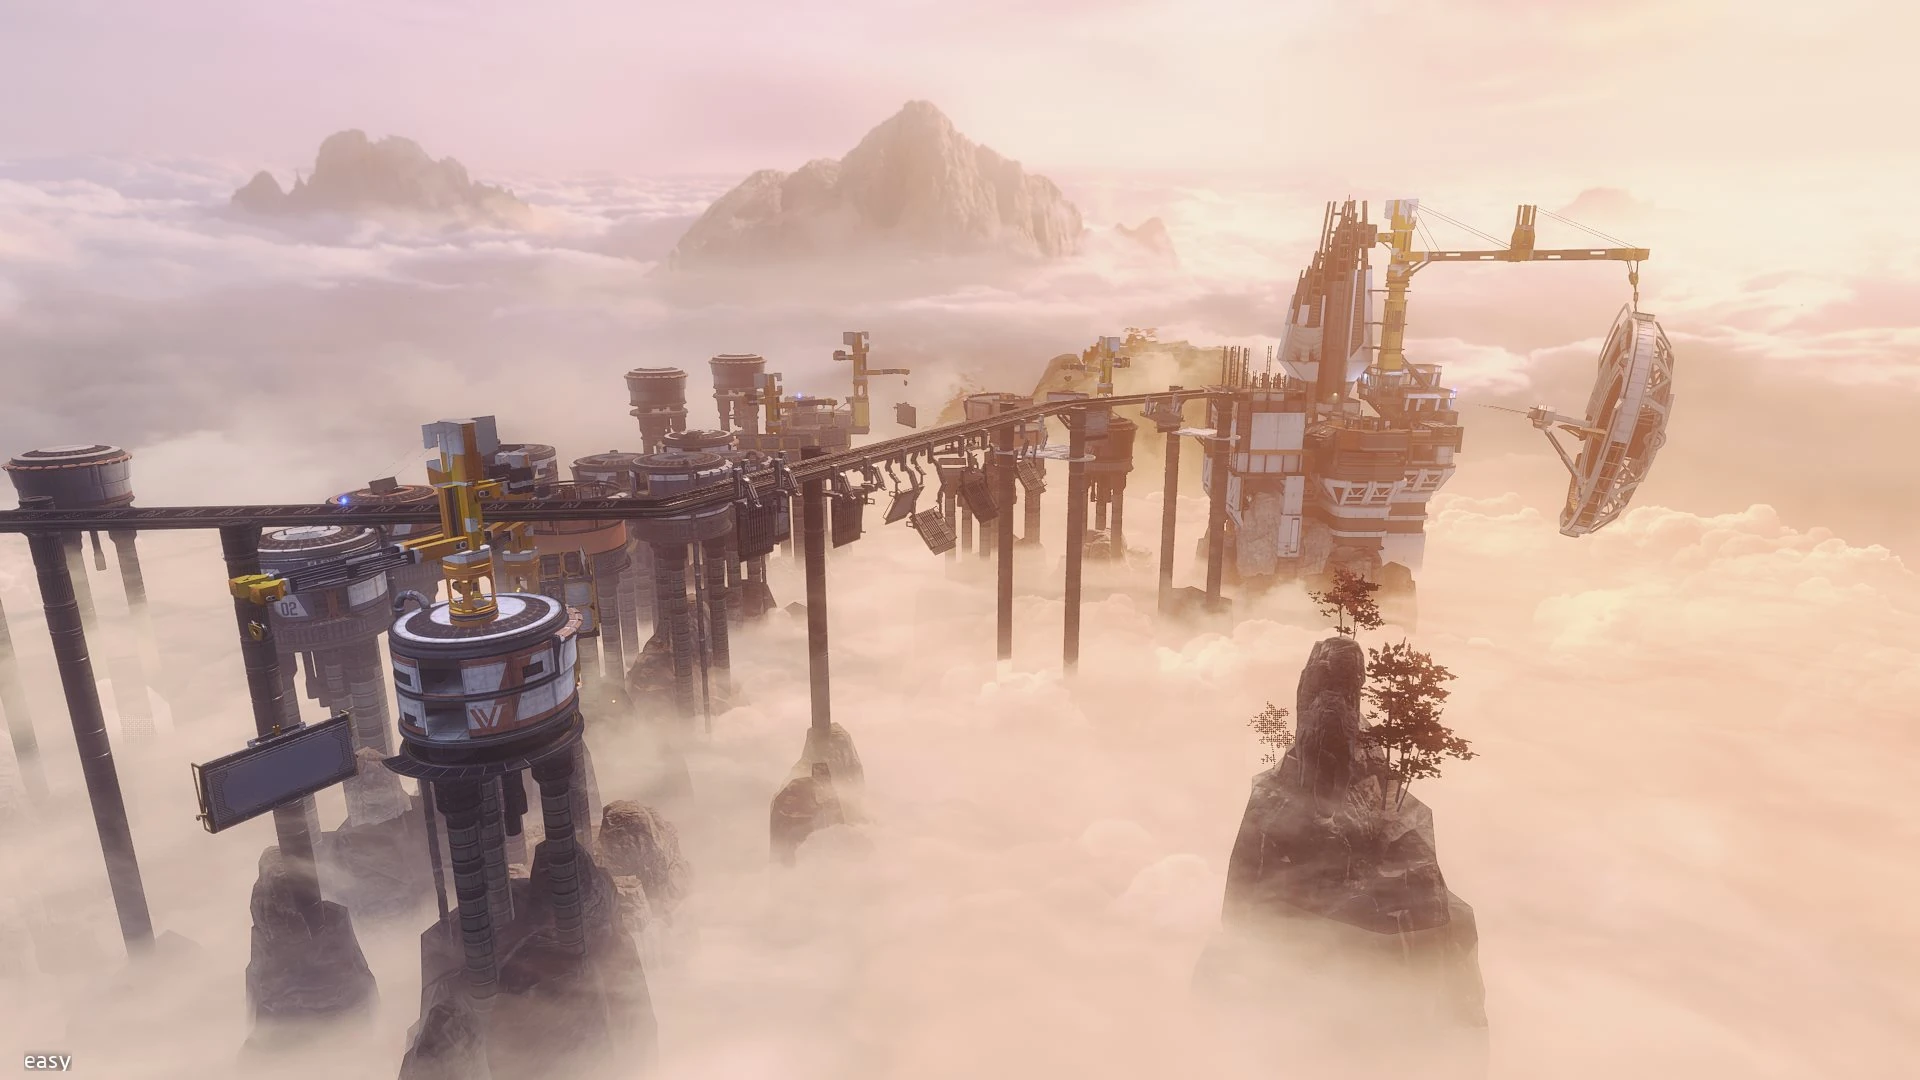
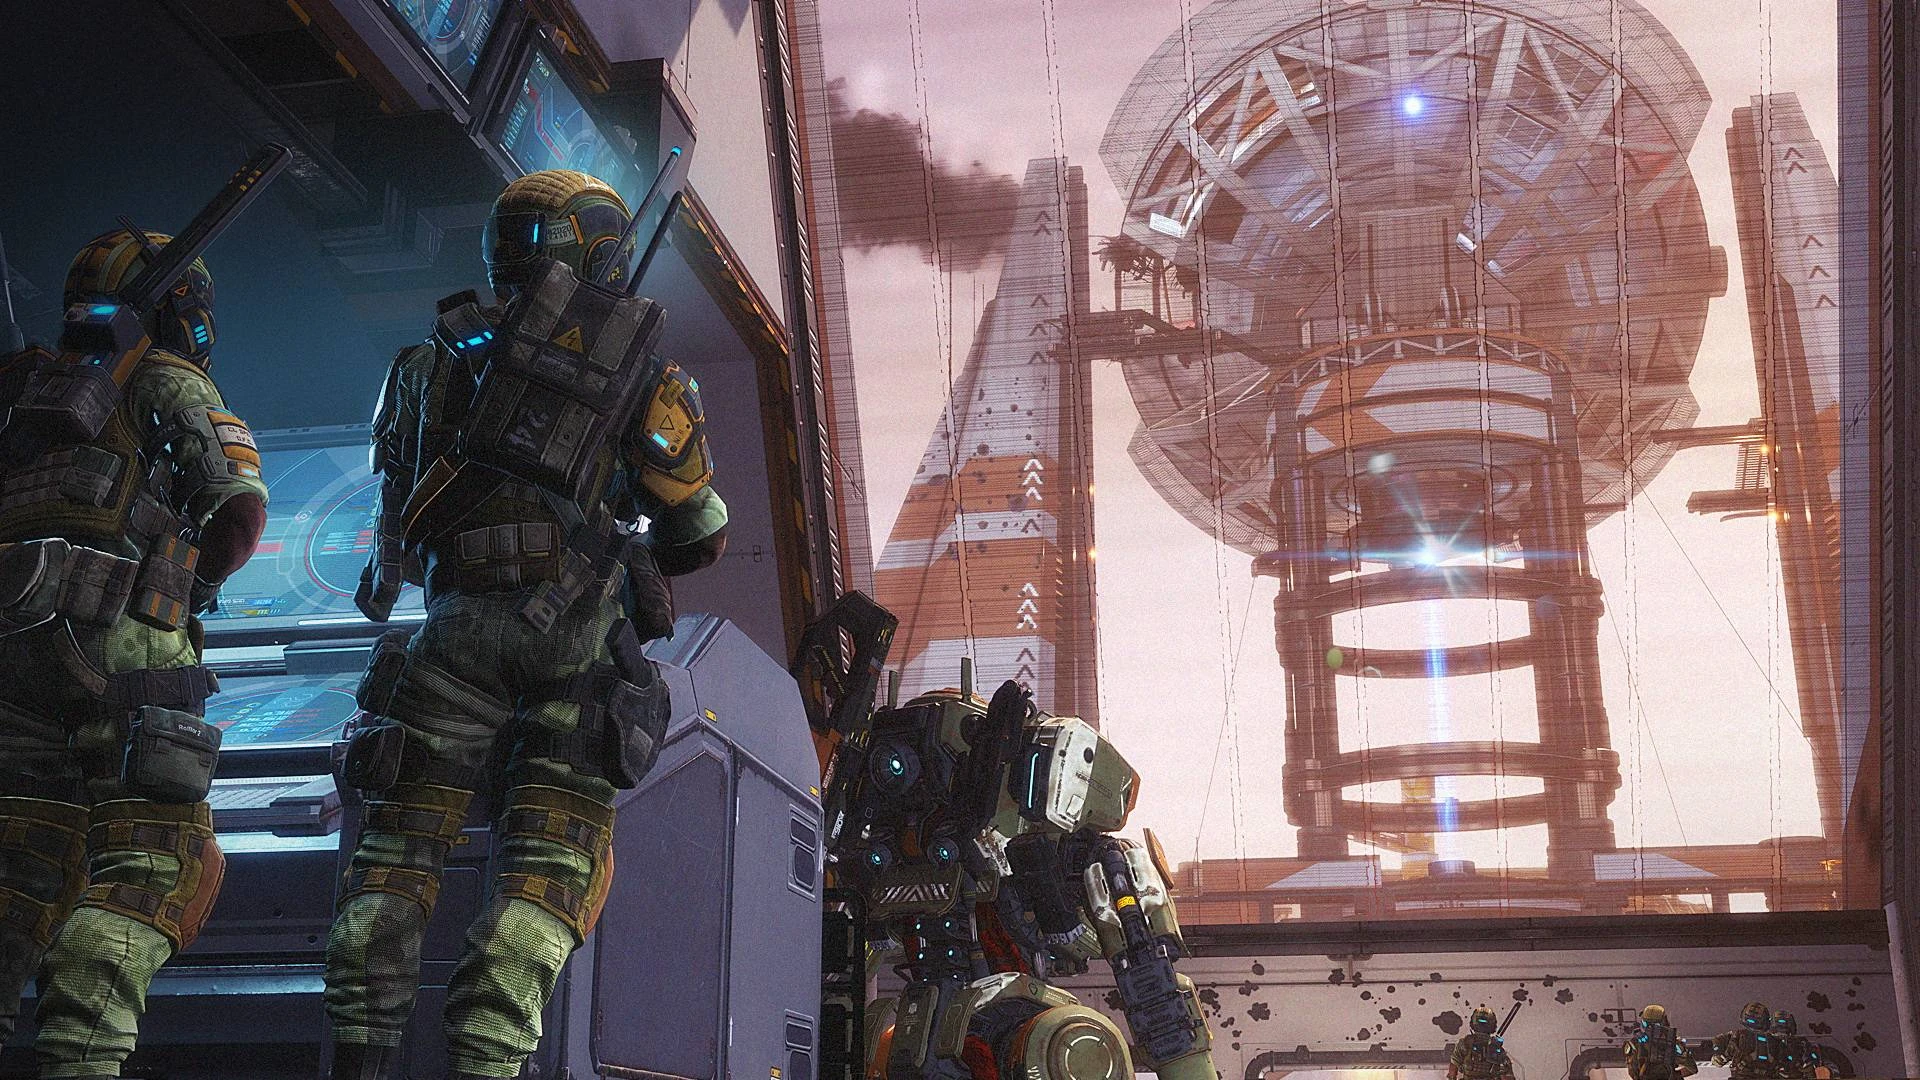
After scanning the energy signature of the Ark and uncovering the IMC's plot to destroy Harmony by means of the Fold Weapon, Jack Cooper and BT-7274 decide that their best course of action is to link up with friendly forces and send a distress message back to the 9th Militia Fleet. After several hours of travel, the duo arrive at a large, battle-scarred IMC Interstellar Beacon in a mountain range. Upon arriving at its location, the pair also discover a company of Militia Riflemen, the 3rd Militia Grenadiers, set up in facility's power sub-station and under siege by hordes of Stalkers. With the exterior of the station largely surrounded by a toxic fog comprised of heavy elements spewed by the reactor systems powering the facility and the interior a maze of endless tunnels and chasms, the company is effectively trapped and slowly running out of ammunition. However, with the arrival of BT and Jack, the company is able to fend off the latest wave of Stalkers and equip BT with a Ronin loadout.

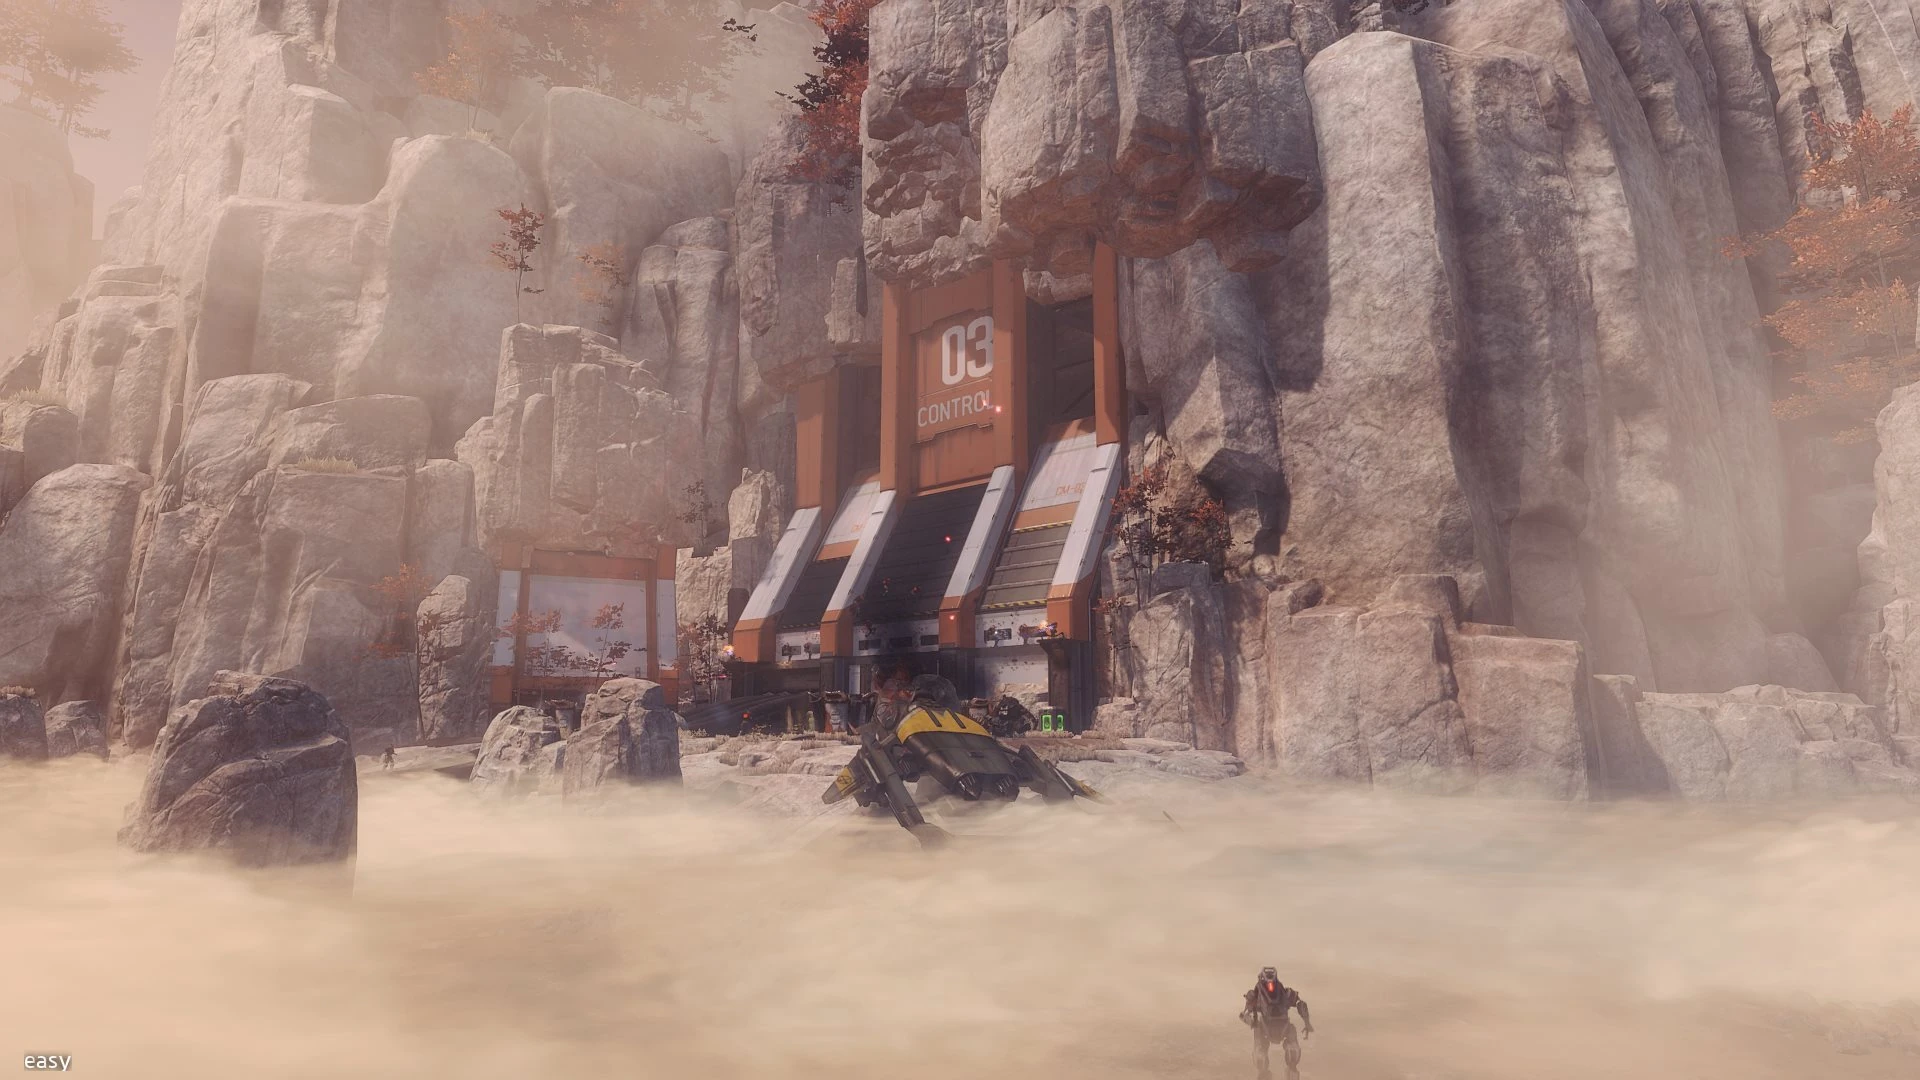
The exterior of the Substation
With the immediate threat gone, the two enter the facility and reveal their intentions to the collection of soldiers and request assistance. The Militia there inform BT and Cooper of their failed attempts to reactivate the Beacon to send an emergency distress call to Militia command, with the de-facto leader of the group, Captain Cole, informing the duo that they're in need of an Arc Tool to power and repair the station. Being informed that another can be found deeper in the Beacon's power grid, Cooper journeys underground alone to go find it, though the many Militia throughout the facility warn Cooper of the numerous automated personnel throughout the facility ensuring none of their own they've sent have come back.
Getting an Arc Tool[]

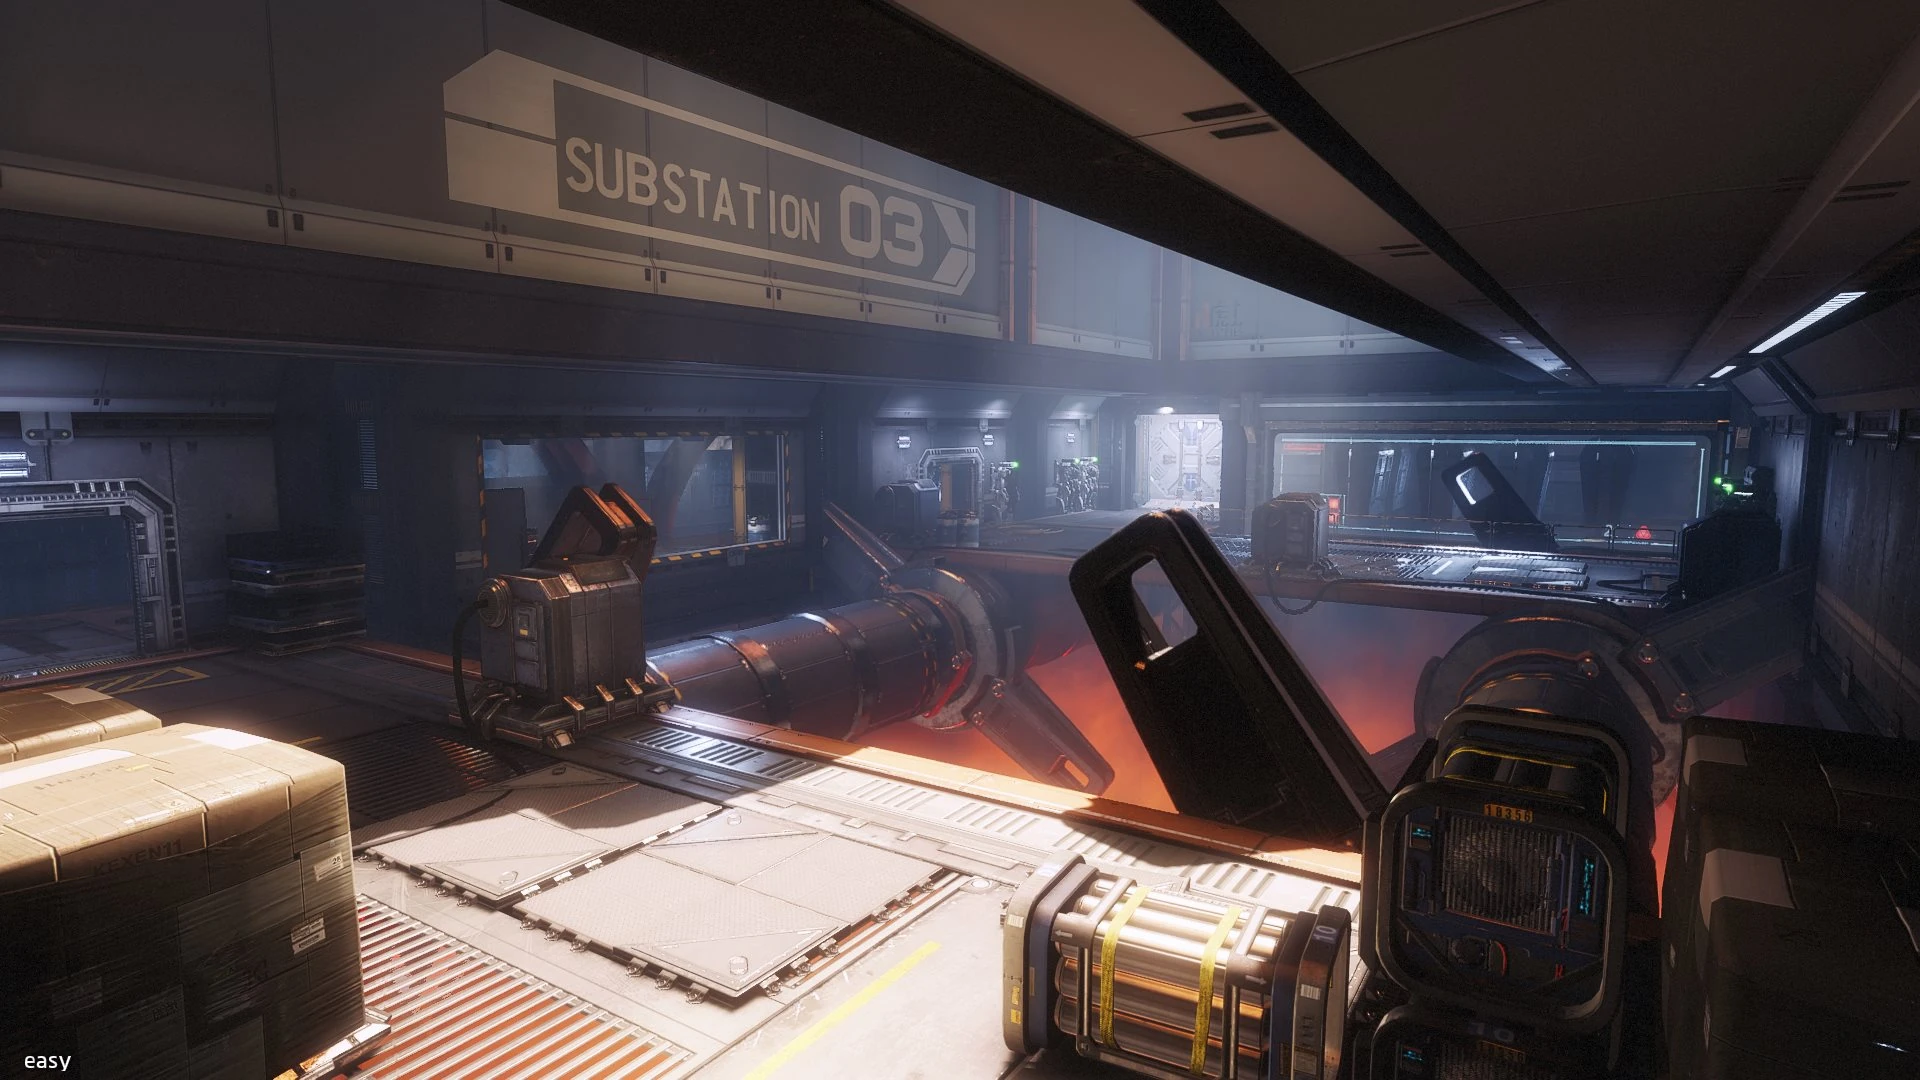
The Substation's interior
As Cooper journeys throughout the massive facility, he encounters Stalkers, Spectres, Plasma Drones and Specialists, all of whom try to stop him. Despite both the killer automatons and the facility's many hazards, Cooper eventually discovers an Arc Tool in the hands of a lone MRVN repeatedly cycling a turbine at the request of the power grid's automated PA. After relieving the maintenance robot of its tool, Cooper uses it in conjunction with his Jump Kit to make it back to the waiting Militia.
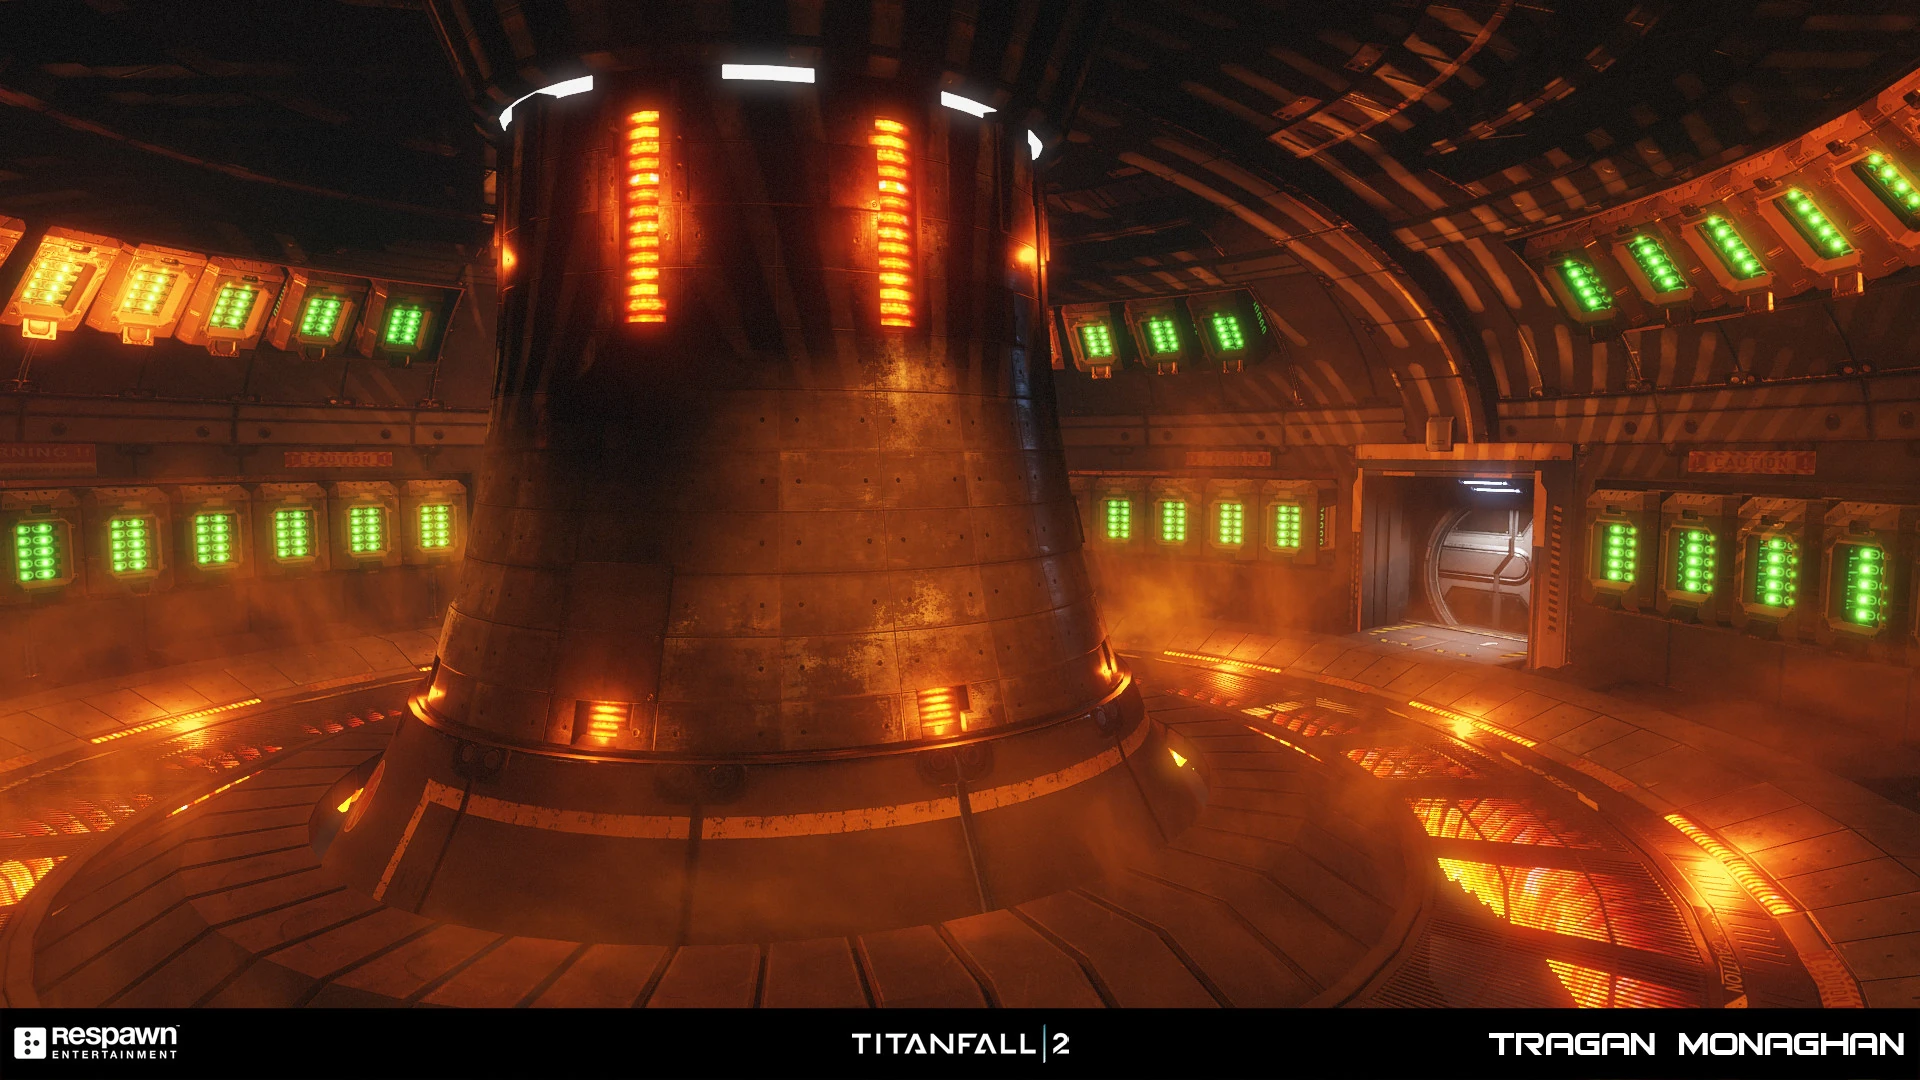
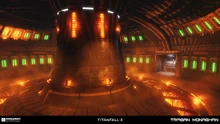
The interior of the reactor.
Arc Tool in hand, Cooper is then informed that the Beacon needs to be powered to send a message, having been shut down due to damage sustained during the fighting. Now posessing an Arc Tool, Cooper is equipped to restart the reactor powering the facility and restore the Beacon's functionality. Before entering the central chamber, however, BT contacts him and informs him the room contains high levels of radiation, warning Cooper to restore power extremely quickly lest the rads cook him alive. Cooper ultimately succeeds in restoring power to the room before succumbing to radiation poisoning, making his way back to the rest of the group to see if what they did worked.
Unfortunately, their efforts don't bear fruit; before the satellite dish can fully align and activate, it sputters out due to a damaged Uplink Module. Even worse, both Cole and BT predict that the failed activation of the structure will alert the IMC and Apex Predators to their position. Not wanting to be around much longer, Cooper embarks BT and heads towards the beacon to find a solution.
Replacement Uplink Module[]
On the way to the beacon, the duo come across a destroyed Ion and its Pilot. BT takes a moment to analyze him, recognizing the pilot as a skilled veteran who was best known for serving during the Fracture Operation. Upon questioning from Cooper, BT also reminds Cooper that he, in fact, fought in said operation, only to suffer a case of amnesia due to a head injury, hence why he failed to remember himself.
After reaching the base of the large satellite array, BT spots another array in the distance, with a Beacon undergoing construction. With the large gap between the main tower and the nearest one in the distance, BT determines the only way Cooper can cross the chasm is via literally throwing him across, recalling Cooper's earlier comments. Though skeptical at first, Cooper allows this, and BT succeeds with Cooper continuing unharmed. Unfortunately, as predicted, the IMC did in fact receive a signal that one of their Beacons was being used, with Apex Predator Richter overseeing deployment of IMC infantry to stop Cooper. Through combat, parkour, and use of his Arc Tool, Cooper overcomes the odds and manages to get the replacement Uplink Module from the distant satellite. By the time Cooper turns and starts towards BT and the central tower again, however, BT contacts him and informs him anti-Titan squads are attacking him and that he's in need of help. Cooper hurries back to BT, then assists the Titan in dispatching the several enemies sent to destroy them.
Fixing the Dish[]
Once again momentarily free from IMC harassment, BT throws Cooper a second time, this time to the near-top of the Beacon tower to reach the dish and fix it. On the way, he overhears Apex Predators Slone and Blisk having a radio conversation, with the former informing the latter that Kane and Ash were discovered dead, and the former's radio had been stolen. Blisk, impressed, addresses Cooper directly, taunting him to "keep coming," but also warning him that he'd live longer if he stopped trying to "be a hero."

Replacing the module
Atop the dish, Cooper proceeds to replace the busted Uplink Module in the transmitter. Upon doing so however, the dish automatically reorients itself, causing Cooper to slide off and begin plummeting towards the chasm of poison fog. Before he can fall past the cliff, BT quickly reaches the edge and catches him. Their job complete, the duo move to return to the control room and retry using the beacon.
Richter[]

On their way back to link up with the riflemen, BT and Jack are intercepted by several IMC Titans and Reapers. Ultimately, these heavy forces do little to stop the duo, forcing Richter to deploy in his custom Tone-class Titan. Despite the mercenary's best efforts, he ultimately falls to the SRS Titan and its Pilot. Depending on gameplay outcome, this can happen in one of two ways; either BT destroys Richter's titan before he can eject (via either attacking him once doomed or performing a unique Termination, in which BT flips the Tone on its back and unloads a massive payload from his Acolyte Pod into the cockpit), or if allowed, Richter attempts a Nuclear Ejection, only for his Titan's ejector seat to malfunction, leaving him trapped inside the Titan as it detonates, killing him.
Leaving[]

Now safe, the two re-enter the control room and once again attempt to call for help. This time, the attempt succeeds and Militia command is successfully contacted. Shortly after, the remainder of the 9th Militia Fleet, led by Sarah Briggs, arrive to speak to BT and rescue the troops. BT informs Sarah of Lastimosa's death, telling her he's now linked to rifleman Cooper due to the dire circumstances. While Sarah expresses shock at first and informs BT she'll transfer him a new pilot, BT rejects the offer, arguing to Briggs that the outstanding combat rating of he and his new pilot make this unnecessary. Reluctantly, she allows the two to remain together - telling Cooper that he's getting "high praise from a machine" - due to the urgent circumstances. The duo, along with every other Militia soul in the area, proceed to mount up and leave to prepare for the next mission; an all-out assault on the Ark.
Weapons[]
Infantry Weapons[]
Titan Loadouts[]
Pilot Helmets[]
There are 11 Pilot Helmets to be collected on this level.
Trivia[]
- According to developer commentary, The Beacon was the first level to complete development, even though it would be placed halfway through the campaign. It was designed to be the proof-of-concept and microcosm for everything the campaign would come to feature: puzzles, platforming, Pilot combat, Titan combat, and other features.
- The Beacon features the only instance in the entire campaign of the Cold War as an available weapon, though there's only one; sitting on a maintenance cart with its bipod deployed when navigating the Interstellar Beacon towers.
- If the player pulls the battery from the dish without reorienting it first, the game will save a checkpoint in the dish itself, which will clip and automatically kill the player as soon as they respawn, forcing them to restart from the beginning if they die while the checkpoint is active.
- Oddly, the Leadwall BT commandeers is seen laying next to a charred Ion titan, despite the Leadwall being used exclusively by Ronins.
- On a similar note, numerous destroyed titans are seen throughout the level; very few, if any, are any make other than Ions.
Gallery[]
Images[]
Concept art[]
Videos[]
")
")
")
")
| Titanfall 2 Campaign Missions |
|---|
| The Pilot's Gauntlet • BT-7274 • Blood and Rust • Into The Abyss • Effect and Cause • The Beacon • Trial By Fire • The Ark • The Fold Weapon |